A Guide To The Best Practices In Hydroseeding
Share this article!
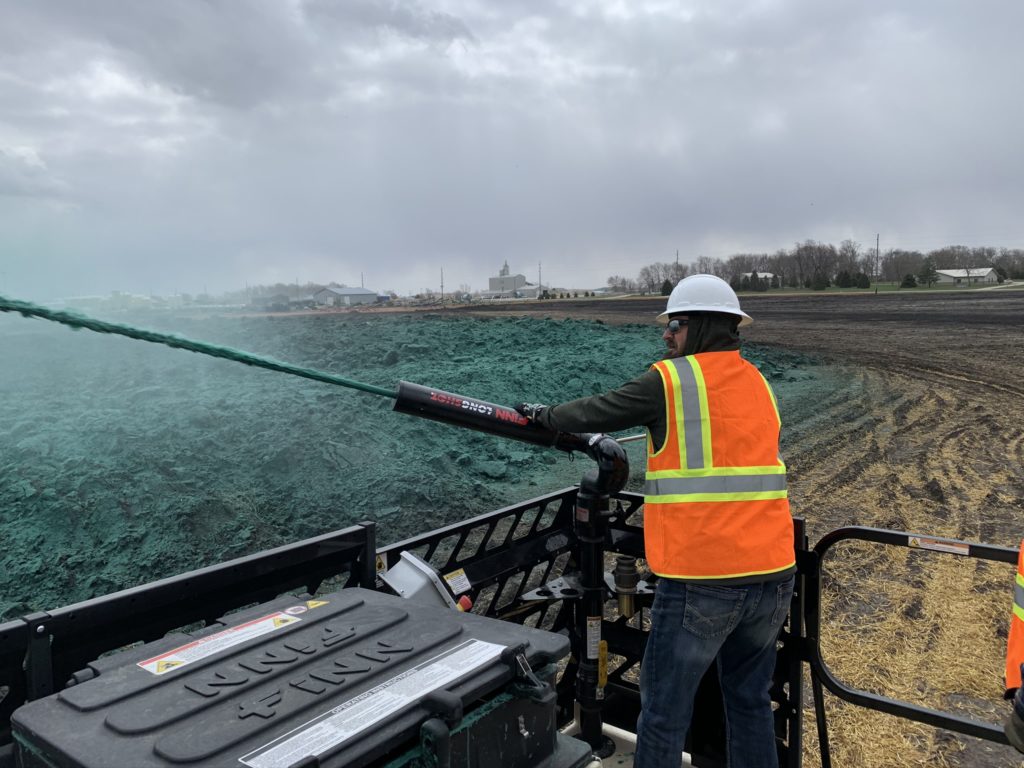
The savings made possible by hydroseeding can be attractive to those not familiar with the entire process. Hydroseeding may appear to be an easy way to save time and money while increasing business, and it can save time and money. However, it’s not as simple as just mixing materials in water and spraying.
For a landscaping business thinking about adding a hydroseeder to its fleet, it’s important to understand the pre- and post-application steps to ensure your customers are pleased with the final results. Here are seven best practices to achieve great results when hydroseeding.
#1 Test the soil
While hydroseeding can be effective in difficult situations, optimizing the soil’s pH levels will encourage strong, healthy growth for years to come. The soil’s pH level is a measurement of acidity or basicity. Generally speaking, the optimal PH level for most types of grass is between 6.0 and 7.0. However, check the type of grass to confirm its preferred pH level.
Soil testing kits are available at most major retailers or from a nearby university. Speaking of institutions of higher education, the faculty of the agriculture department at your local university is a wealth of knowledge.
Learn from these experts and use that information to educate your customers. The more informed your customers are, the happier they’ll be with your work. And a happy customer will say good things about your business, leading to more growth.
#2 Prep the soil
Application of a hydroseeding slurry to hard dirt surfaces may result in some growth, but preparing the soil for seeding and grass growth creates an environment conducive for success. FINN product specialists recommend preparing the top six inches of soil for best results. In a pinch, working the top four inches of the ground is better than nothing.
Working the top six inches of the ground into nice, loose soil with a ground preparation attachment is the foundation of strong, healthy roots for the grass seeds applied through hydroseeding.
#3 Load the hydroseeder properly
To ensure a consistent, well-mixed slurry in the hydroseeder tank, add the lightest material first. With the recommended amount of water in the tank, start by adding the seed and mulch, followed by a tackifier and additives, if necessary. Add the fertilizer last. As the heaviest material in the tank, the fertilizer will naturally sink to the bottom of the tank.
With a mechanical agitation hydroseeder, the paddles will properly mix the materials as the fertilizer incorporates with the water in the tank for even dispersal of the mixture through the hose.
#4 Consider if additives are necessary
Additives are typically reserved for larger construction or government contract jobs where watering is dependent on Mother Nature. Additives like HydroGel retain up to 500% of their weight in water.
This water carrier storage device slowly releases the water to survive dry weather spells and promote healthy, consistent growth. HydroGel replenishes itself during irrigation or rainfall, eliminating worry over a lack of moisture.
#5 Know your equipment’s application rate
The size of the hydroseeding equipment for a project determines what type of material can be used. In addition, the type of job may require a particular material. That’s where application rates are important.
Review the manufacturer’s recommendation on the material selected and be sure to select the hydroseeding equipment capable of matching the application rate for the material. In short, don’t skimp; trying to cut corners on application rate will work against you.
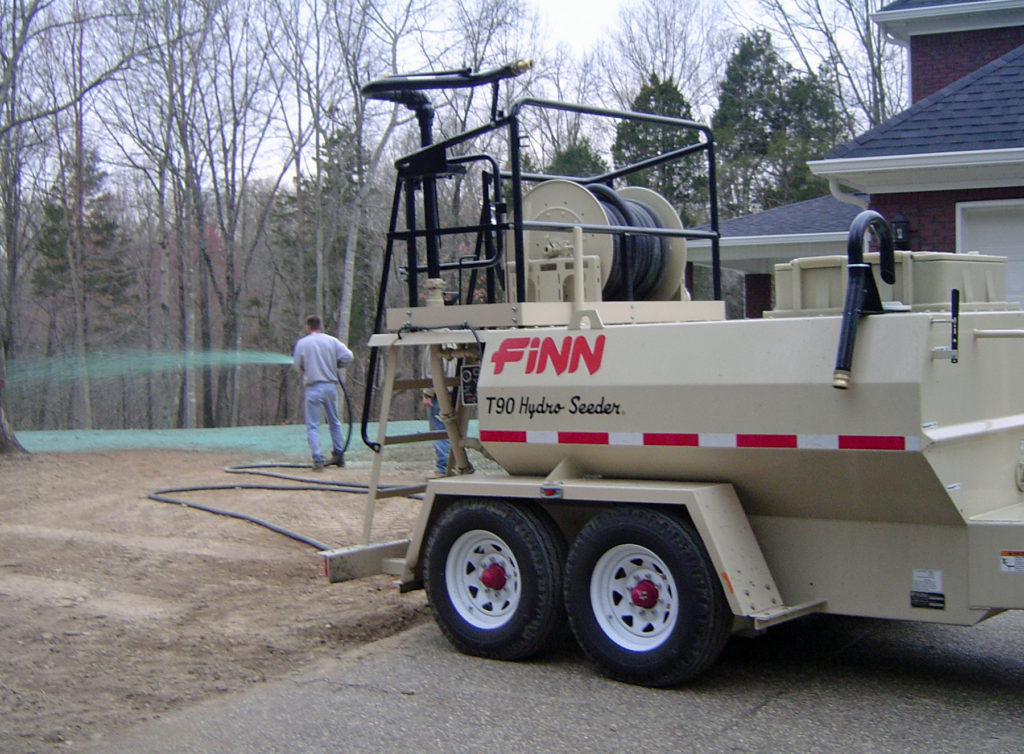
#6 Schedule application for your climate
Generally speaking, spring and fall are the best times for hydroseeding. The warmer days and cool nights provide an advantageous situation to germinate grass. Hydroseeding in the fall allows the grass to find its roots before the dormant winter season. Spring rains awaken the grass, allowing ample time to develop strong, healthy roots before summer heat.
Summer is a difficult time to hydroseed, depending on the geographical location, and requires additional care and watering post-application. Winter application is not recommended. Check with your local FINN dealer for optimal dates in your region.
#7 Aftercare
Hydroseeding is not typically a set-it-and-forget-it application. It is merely the process of applying seeds. This step is vitally important in growing a strong, healthy job site to control erosion. Aftercare includes many of the same general yard maintenance tips used for a residential lawn, including watering consistently, fertilizing regularly and routine upkeep of the field.
A local university’s agricultural extension office is a great resource for best practices of lawn care. Sharing this information with customers helps them to have a luscious lawn that neighbors envy.
In addition, maintain and clean up your equipment after the job to ensure it works smoothly and properly at the next job site. FINN Product Manager Josh Bruno has a great tutorial video explaining the cleaning process.
Hydroseeders to fit any budget and project size
Following these seven tips will set your team up for success as hydroseeders, laying the groundwork to have happy, returning customers. The act of hydroseeding itself is relatively simple, but taking the proper steps before and after are critical in ensuring a luscious, luxurious lawn that survives the sometimes-harsh realities of Mother Nature.
Learn more about FINN Corp or visit a local FINN dealer to find a hydroseeder for your business. We’ll help you cover some ground with Smarter Ways to Work.
Folow Finn Corporation on Social
How to Lay Mulch Evenly – When & Why to Use a Mulch Blower
Understanding the best way to spread mulch evenly can mean the difference between a great-looking, environmentally-friendly landscape, and one that falls short in both areas. From spreading mulch basics to how to spread mulch evenly, and when to use a mulch blower to achieve the desired results, these landscaper insider tips can help elevate your next project’s aesthetics and help…
Bark & Mulch Blowing 101
One of the best ways to enhance soil composition, prevent erosion, and improve the aesthetics of any landscaping project is to utilize bark and mulch blowing. For our purposes, bark and mulch blowing are effectively the same thing, and can generally be used interchangeably. Bark and mulch are both great choices to prevent weed growth and invasion, improve soil quality…
Hydroseed vs. Sod vs. Grass Seed
If you’re starting a lawn from scratch, you’ve probably come across the three common methods for seeding: sod, grass seed, and hydroseed. In order to determine the best choice for your yard, you may want to ask yourself a few questions before you get started, and familiarize yourself with each of the processes so you can make the right choice…

